首页| 新闻| 娱乐| 游戏| 科普| 文学| 编程| 系统| 数据库| 建站| 学院| 产品| 网管| 维修| 办公| 热点
郑重声明:本文版权归原作者所有,转载文章仅为传播更多信息之目的,如作者信息标记有误,请第一时间联系我们修改或删除,多谢。
MBR怎么转换为GPT?硬盘MBR格式
威刚发布新一代Ultimate SU900
MBR怎么转换为GPT?硬盘MBR格式转换成GPT格
校园甜美的背影,洋溢着青春烂漫的回忆
芭蕾舞蹈表演,真实美到极致
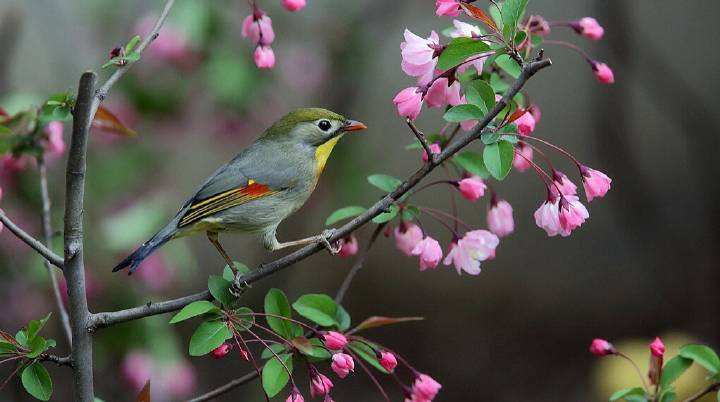
春天的魅力:绿杨烟外晓寒轻
春节临近,各地春节彩灯高高挂
肉食主义者的最爱美食烤肉图片
夏日甜心草莓美食图片
人逢知己千杯少,喝酒搞笑图集
搞笑试卷,学生恶搞答题
新闻热点
疑难解答
图片精选
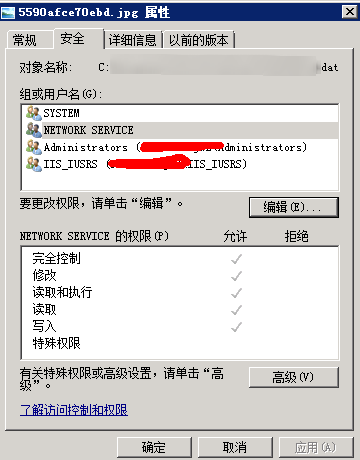
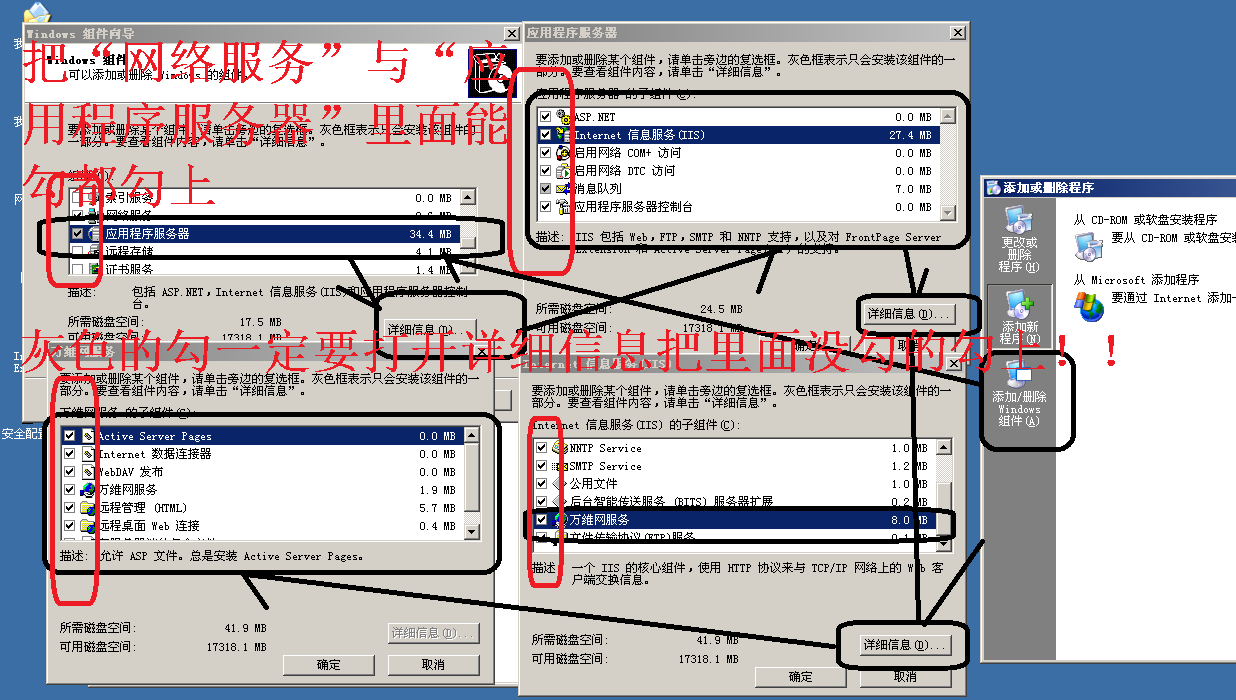
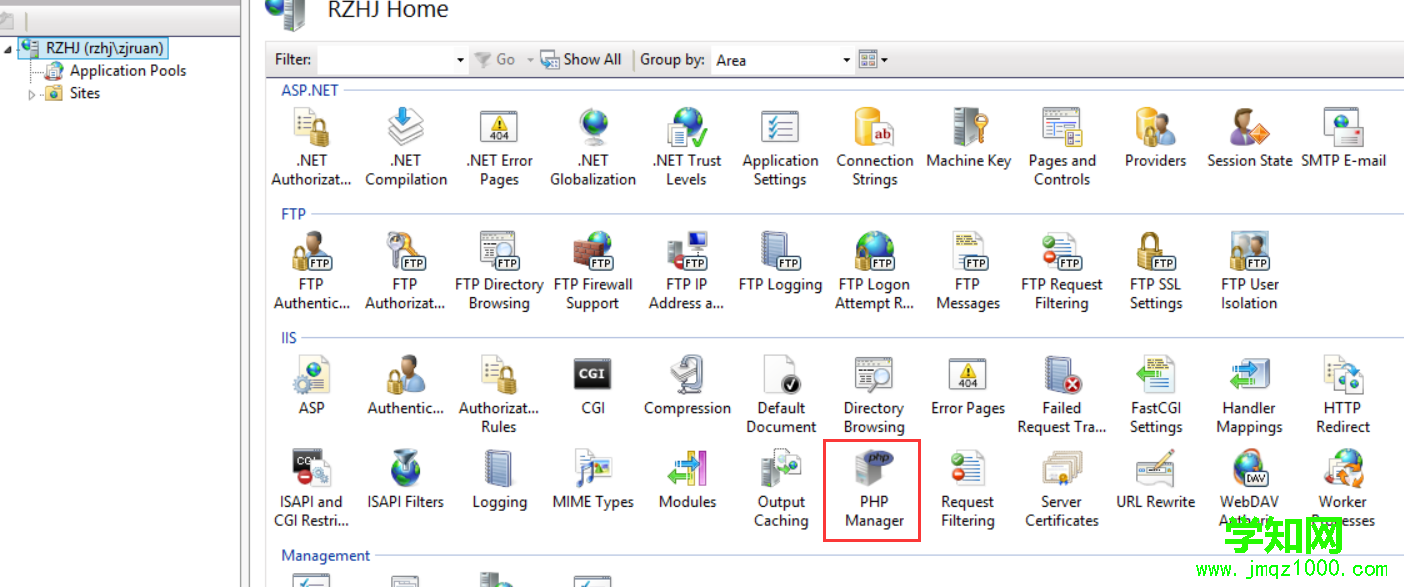
解决PHP在Windows IIS 上传的图片
php以fastCGI的方式运行在iis下 遇
php 在Windows2003下的IIS配置php5
PHP环境搭建(Windows8.1+IIS8.5+PH
网友关注