XAMPP(Apache+html' target='_blank'>MySQL+PHP+PERL)是一个功能强大的建 XAMPP 软件站集成软件包,轻巧,用起来很方便。它提供了强大的phpmyadmin数据库管理工具,让使用者对数据库的使用和管理得心应手。对于不能在本地打开phpmyadmin的问题,我的解决方案如下:
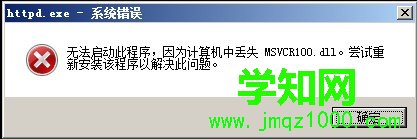
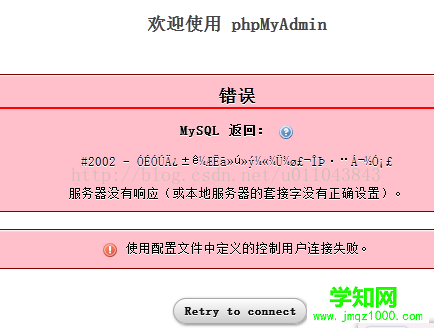
MySQL有一个默认的专用端口:3306,所以,如果你之前独立安装了MySQL,那么3306端口已经被占用。安装XAMPP集成的MySQL时,必须重新设置独立的端口,否则是不能访问phpmyadmin的,我收到的报错信息见图:
修改方法也很方便,打开XAMPP的控制面板,找到mysql右侧的config,点击,会出现my.ini的选择项,这个就是mysql的配置文件了,如图:

当然只是修改端口,我还是访问不了。还要去修改phpmyadmin的配置文件,这里有两个途径:
一、访问phpmyadmin出错的解决方案
1、打开xampp目录(默认的安装目录,如果修改,请找到xampp的安装目录),打开phpmyadmin的目录,在该目录下找到config.inc.php,我的默认配置:
<?php/* * This is needed for cookie based authentication to encrypt password in * cookie */$cfg['blowfish_secret'] = 'xampp'; /* YOU SHOULD CHANGE THIS FOR A MORE SECURE COOKIE AUTH! *//* * Servers configuration */$i = 0;/* * First server */$i++;/* Authentication type and info */$cfg['Servers'][$i]['auth_type'] = 'config';$cfg['Servers'][$i]['user'] = 'username'; //mysql用户名$cfg['Servers'][$i]['password'] = 'password'; //mysql密码$cfg['Servers'][$i]['extension'] = 'mysqli'; //扩展配置,若访问出现没有配置mysqli等错误,加上这个。默认是有的$cfg['Servers'][$i]['AllowNoPassword'] = true;$cfg['Lang'] = '';/* Bind to the localhost ipv4 address and tcp */$cfg['Servers'][$i]['host'] = '127.0.0.1';$cfg['Servers'][$i]['connect_type'] = 'tcp';/* User for advanced features */$cfg['Servers'][$i]['controluser'] = 'pma';$cfg['Servers'][$i]['controlpass'] = '';/* Advanced phpMyAdmin features */$cfg['Servers'][$i]['pmadb'] = 'phpmyadmin';$cfg['Servers'][$i]['bookmarktable'] = 'pma_bookmark';$cfg['Servers'][$i]['relation'] = 'pma_relation';$cfg['Servers'][$i]['table_info'] = 'pma_table_info';$cfg['Servers'][$i]['table_coords'] = 'pma_table_coords';$cfg['Servers'][$i]['pdf_pages'] = 'pma_pdf_pages';$cfg['Servers'][$i]['column_info'] = 'pma_column_info';$cfg['Servers'][$i]['history'] = 'pma_history';$cfg['Servers'][$i]['designer_coords'] = 'pma_designer_coords';$cfg['Servers'][$i]['tracking'] = 'pma_tracking';$cfg['Servers'][$i]['userconfig'] = 'pma_userconfig';$cfg['Servers'][$i]['recent'] = 'pma_recent';$cfg['Servers'][$i]['table_uiprefs'] = 'pma_table_uiprefs';/* * End of servers configuration */?>
然后在$cfg['Lang'] = ”后加入以下代码:
$cfg['Servers'][$i]['port'] = '3307'
保存,重启apache,在地址栏输入localhost/phpmyadmin,就可以直接进入phpmyadmin的管理界面了

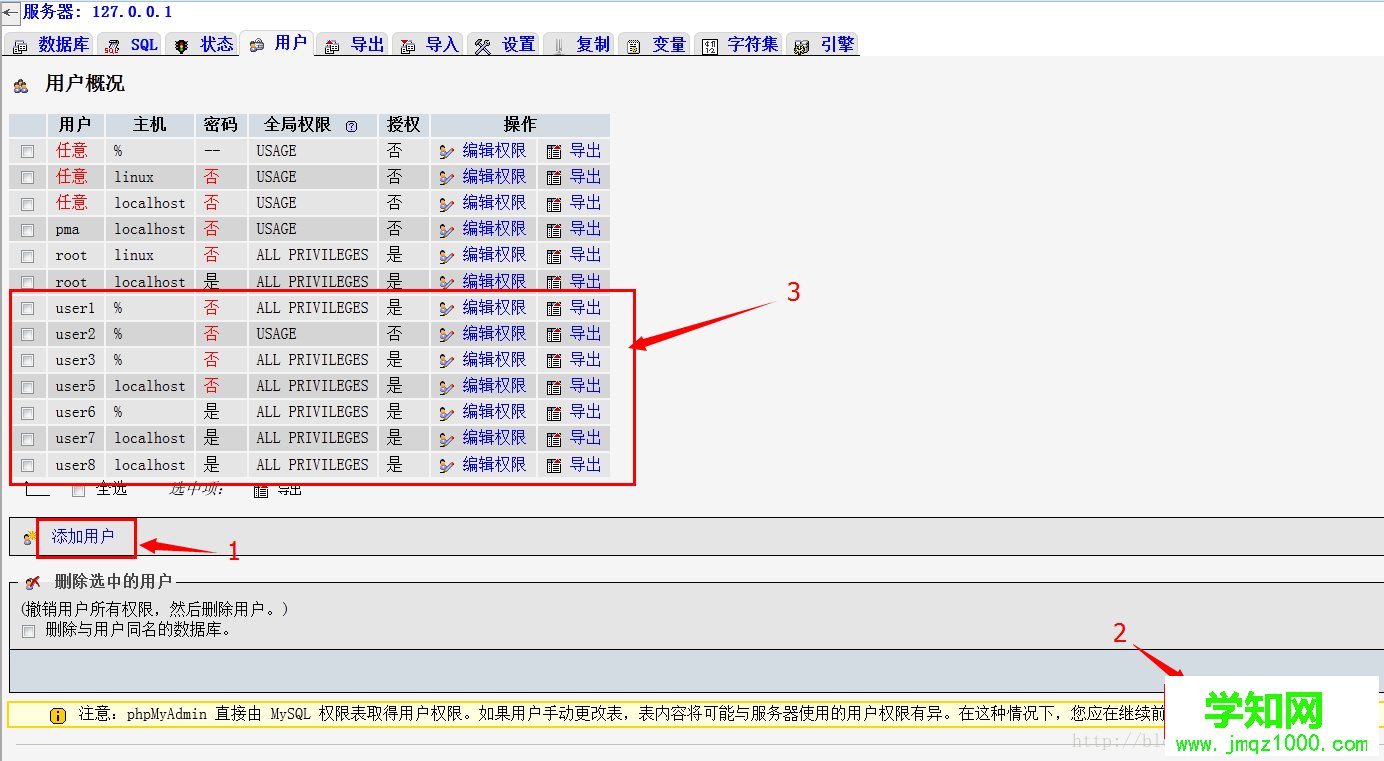
这种方式不太安全,没有验证,谁都可以进入phpmyadmin管理数据库了。重新回到配置文件,找到如下代码:
$cfg['Servers'][$i]['auth_type'] = 'config'
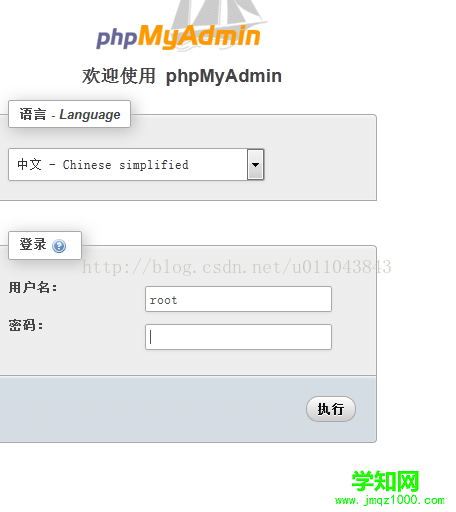
将上述代码的config改为cookie,或者http,就会出现验证界面了(cookie和http对应的验证界面在windows上还不一样),我把它改成了cookie,出现如图验证界面
2、这种方式也是修改phpmyadmin的配置文件,不过路径不一样了,在phpmyadmin/libraries找到config.default.php文件,里面包含了服务器的各种配置参数
$cfg['Servers'][$i]['port'] = '';
找到这一行代码,我的在132行,这个是配置端口的,值为空则是默认的3306,将其值改为3307后,保存,重启apache,同样可以访问phpmyadmin了
二、phpmyadmin配置文件详解
打开在phpmyadmin/libraries找到config.default.php文件,常用参数配置如下
$cfg['PmaAbsoluteUri'] = ''; //phpmyadmin的访问网址 ,默认就行$cfg['TranslationWarningThreshold'] = 80; //服务器端口$cfg['Servers'][$i]['host'] = 'localhost';//mysql主机ip,如果mysql和该phpmyadmin在同一服务器,则按默认localhost$cfg['Servers'][$i]['port'] = '3307'; //mysql端口,默认3306,保留为空即可$cfg['Servers'][$i]['user'] = 'root'; //mysql用户名$cfg['Servers'][$i]['password'] = '';//密码$cfg['Servers'][$i]['auth_type'] = 'cookie'; //认证方式/*端口、用户名、认证方式等也可以再config.inc.php中配置,并且优先级高*$cfg['Servers'][$i]['auth_type'] = 'config'; 这个是在config.inc.php的*配置,若不修改这个值,仍然可以直接访问phpmyadmin*/$cfg['DefaultLang']='zh'; //设置默认语言
对于认证方式$cfg['Servers'][$i]['auth_type'] = ‘cookie'; 的值有四个:cookie,http,HTTP,config
config方式即输入phpmyadmin的访问网址即可直接进入,无需输入用户名和密码,是不安全的,不推荐使用。
当该项设置为cookie,http或HTTP时,登录phpmyadmin需要数据用户名和密码进行验证,,具体如下:
PHP安装模式为Apache,可以使用http和cookie;
PHP安装模式为CGI,可以使用cookie .
另外,在cookie模式下,还可以设置$cfg['blowfish_secret'] = ”; (短语密码) ,至于设置为什么密码,由您自己决定,也可以不用理会。(没测试过,这一点来自文档说明,我觉得不用理会就行了)
来源:http://www.ido321.com/1246.html
PHP编程郑重声明:本文版权归原作者所有,转载文章仅为传播更多信息之目的,如作者信息标记有误,请第一时间联系我们修改或删除,多谢。
新闻热点


疑难解答