First, obtain a fresh release of OpenCV from download page and extract it under a simple location like C:/OpenCV-2.4.6/. I am using version 2.4.6, but the steps are more or less the same for other versions.
Now, we will define OpenCV as a user library in Eclipse, so we can reuse the configuration for any PRoject. Launch Eclipse and select Window –> Preferences from the menu.

Navigate under java –> Build Path –> User Libraries and click New....

Enter a name, e.g. OpenCV-2.4.6, for your new library.

Now select your new user library and click Add External JARs....

Browse through C:/OpenCV-2.4.6/build/java/ and select opencv-246.jar. After adding the jar, extend the opencv-246.jar and select Native library location and press Edit....

Select External Folder... and browse to select the folder C:/OpenCV-2.4.6/build/java/x64. If you have a 32-bit system you need to select the x86 folder instead of x64.

Your user library configuration should look like this:

Now start creating a new Java project.

On the Java Settings step, under Libraries tab, select Add Library... and select OpenCV-2.4.6, then click Finish.


Libraries should look like this:

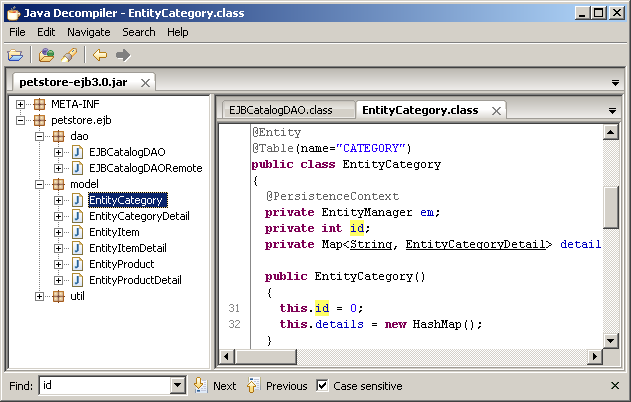
Now you have created and configured a new Java project it is time to test it. Create a new java file. Here is a starter code for your convenience:
新闻热点


疑难解答