这篇文章主要介绍了JavaScript实现滚动栏效果的方法,涉及javascript操作html元素实现滚动的相关技巧,非常具有实用价值,需要的朋友可以参考下
本文实例讲述了JavaScript实现滚动栏效果的方法。分享给大家供大家参考。具体如下:
- <!DOCTYPE html>
- <html>
- <head lang="en">
- <meta charset="UTF-8">
- <title></title>
- <style>
- * {
- margin: 0;
- padding: 0;
- }
- #div1 ul{
- position: absolute;
- left: 0px;
- top: 0px;
- }
- #div1 ul li img {
- width: 187px;
- height: 125px;
- }
- #div1 ul li{
- float: left;
- width: 187px;
- height: 125px;
- list-style: none;
- }
- #div1{
- width: 748px;
- height: 125px;
- position: relative;
- background-color: chartreuse;
- overflow: hidden;
- float: left;
- }
- #body{
- width: 948px;
- height: 125px;
- margin: 100px auto;
- }
- #body #leftDiv{
- float: left;
- width: 100px;
- height: 100px;
- }
- #body #rightDiv{
- float: left;
- width: 100px;
- height: 100px;
- }
- #body #leftDiv button{
- background-image: url("image/left.PNG");
- width: 100px;
- height: 100px;
- }
- #body #leftDiv button img{
- width: 100px;
- height: 100px;
- }
- #body #rightDiv button img{
- width: 100px;
- height: 100px;
- }
- </style>
- <script>
- window.onload=function(){
- var oDiv=document.getElementById('div1');
- var oUl=oDiv.getElementsByTagName('ul')[0];
- var oLi=oUl.getElementsByTagName('li');
- var oLeft=document.getElementById('leftDiv');
- var oright=document.getElementById('rightDiv');
- oUl.innerHTML+=oUl.innerHTML;
- oUl.style.width=oLi[0].offsetWidth*oLi.length+'px';
- var speed=-2;
- function move(){
- if (oUl.offsetLeft<-oUl.offsetWidth/2){
- oUl.style.left='0';
- }else if(oUl.offsetLeft>0){
- oUl.style.left=-oUl.offsetWidth/2+'px';
- }
- oUl.style.left=oUl.offsetLeft+speed+'px';
- };
- var timer=setInterval(move,30);
- oLeft.onclick=function(){
- speed=-2;
- };
- oright.onclick= function () {
- speed=2;
- };
- oUl.onmouseover=function(){
- clearInterval(timer);
- };
- oUl.onmouseout=function(){
- timer=setInterval(move,30);
- };
- }
- </script>
- </head>
- <body>
- <div id="body">
- <div id="leftDiv"><button><img src="image/left.PNG"/></button></div>
- <div id="div1">
- <ul>
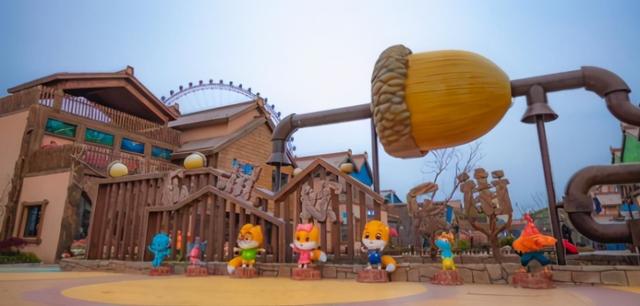
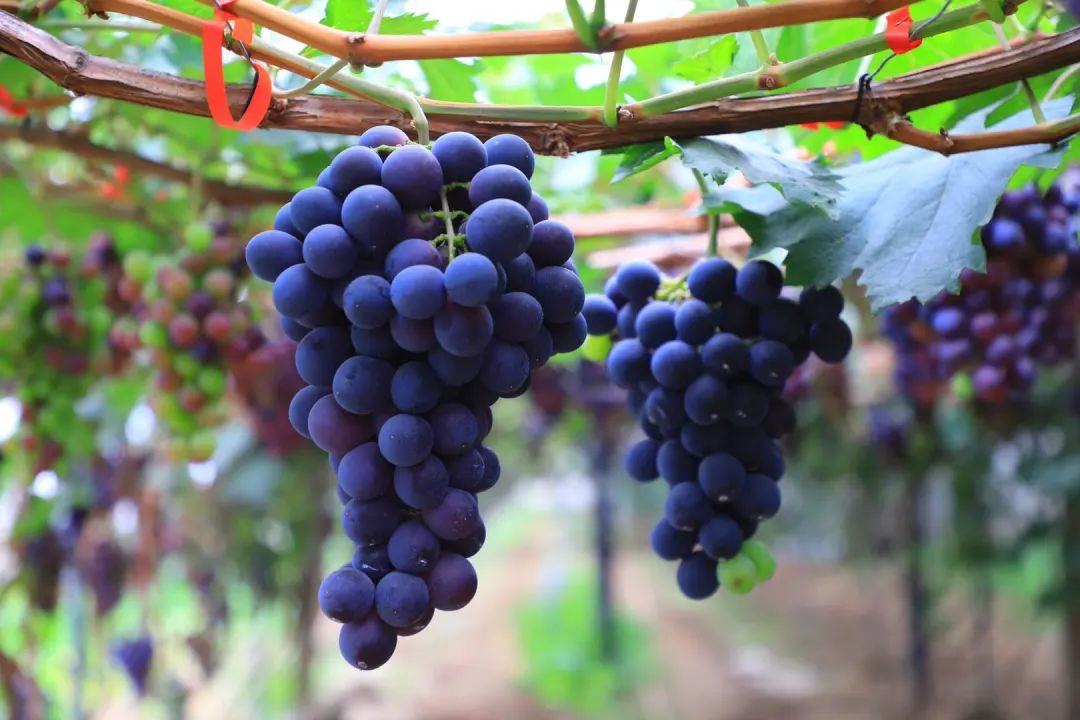
- <li><img src="image/1.JPG"/></li>
- <li><img src="image/2.JPG"/></li>
- <li><img src="image/3.JPG"/></li>
- <li><img src="image/4.JPG"/></li>
- </ul>
- </div>
- <div id="rightDiv"><button><img src="image/right.PNG"/></button></div>
- </div>
- </body>
- </html>
希望本文所述对大家的javascript程序设计有所帮助。
新闻热点





疑难解答
图片精选