这篇文章主要介绍了js图片轮播效果实现代码,文章对每一步进行了详细阐述,标注注意事项,为顺利实现js图片轮播效果做好铺垫,对轮播效果感兴趣的朋友可以参考一下
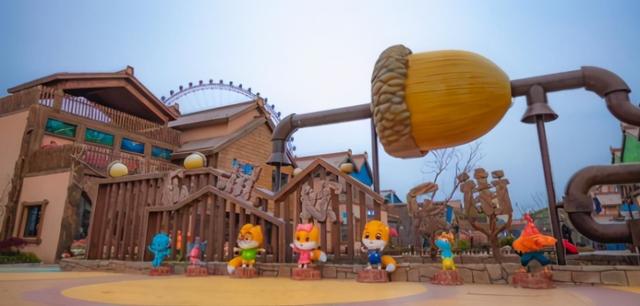
首先给大家看一看js图片轮播效果,如下图


具体思路:
一、页面加载、获取整个容器、所有放数字索引的li及放图片列表的ul、定义放定时器的变量、存放当前索引的变量index
二、添加定时器,每隔2秒钟index递增一次、调用一次切换图片函数
提示:
1、 index不能一直无限制的递增下去,需做判断
2、调用切换图片函数时需将递增之后的index作为参数传过去
三、定义图片切换函数
提示:
1.遍历所有放数字索引的li,将每个li上的类去掉。
2.根据传递过来的index值找到对应的li给它添加类设为当前高亮显示。
3. 根据传递过来的index值计算放图片的ul的top值
4. 改变index的值,让其等于传递过来的参数值
注意:放图片的ul的top值=-index*单张图片的高度(所有图片必须等高)
四、鼠标划过整个容器时,图片停止切换,离开继续
提示:
1. 鼠标滑过整个容器时清除定时器
2. 鼠标离开时继续执行定时器,切换至下一张图片
五、遍历所有放数字的li,且给他们添加索引、鼠标滑过时切换至对应的图片。
鼠标滑过时调用图片切换函数,将滑过的li的索引传过去。
具体代码如下:
- <!doctype html>
- <html lang="en">
- <head>
- <meta charset="UTF-8">
- <title>Document</title>
- <style>
- *{margin:0;
- padding:0;
- list-style:none;}
- .wrap{height:170px;
- width:490px;
- margin:60px auto;
- overflow: hidden;
- position: relative;
- margin:100px auto;}
- .wrap ul{position:absolute;}
- .wrap ul li{height:170px;}
- .wrap ol{position:absolute;
- right:5px;
- bottom:10px;}
- .wrap ol li{height:20px; width: 20px;
- background:#ccc;
- border:solid 1px #666;
- margin-left:5px;
- color:#000;
- float:left;
- line-height:center;
- text-align:center;
- cursor:pointer;}
- .wrap ol .on{background:#E97305;
- color:#fff;}
- </style>
- <script type="text/javascript">
- window.onload=function(){
- var wrap=document.getElementById('wrap'),
- pic=document.getElementById('pic').getElementsByTagName("li"),
- list=document.getElementById('list').getElementsByTagName('li'),
- index=0,
- timer=null;
- // 定义并调用自动播放函数
- timer = setInterval(autoPlay, 2000);
- // 鼠标划过整个容器时停止自动播放
- wrap.onmouseover = function () {
- clearInterval(timer);
- }
- // 鼠标离开整个容器时继续播放至下一张
- wrap.onmouseout = function () {
- timer = setInterval(autoPlay, 2000);
- }
- // 遍历所有数字导航实现划过切换至对应的图片
- for (var i = 0; i < list.length; i++) {
- list[i].onmouseover = function () {
- clearInterval(timer);
- index = this.innerText - 1;
- changePic(index);
- };
- };
- function autoPlay () {
- if (++index >= pic.length) index = 0;
- changePic(index);
- }
- // 定义图片切换函数
- function changePic (curIndex) {
- for (var i = 0; i < pic.length; ++i) {
- pic[i].style.display = "none";
- list[i].className = "";
- }
- pic[curIndex].style.display = "block";
- list[curIndex].className = "on";
- }
- };
- </script>
- </head>
- <body>
- <div class="wrap" id='wrap'>
- <ul id="pic">
- <li><img src="1.jpg" alt=""></li>
- <li><img src="2.jpg" alt=""></li>
- <li><img src="3.jpg" alt=""></li>
- <li><img src="4.jpg" alt=""></li>
- <li><img src="5.jpg" alt=""></li>
- </ul>
- <ol id="list">
- <li class="on">1</li>
- <li>2</li>
- <li>3</li>
- <li>4</li>
- <li>5</li>
- </ol>
- </div>
- </body>
- </html>
以上就是本文的全部内容,为大家分享了js图片轮播效果实现代码,希望大家喜欢,根据自己的喜好更换图片,制作属于自己的图片轮播效果。
新闻热点





疑难解答
图片精选